How to Build a Compost Bin Out of Used Wood Pallets
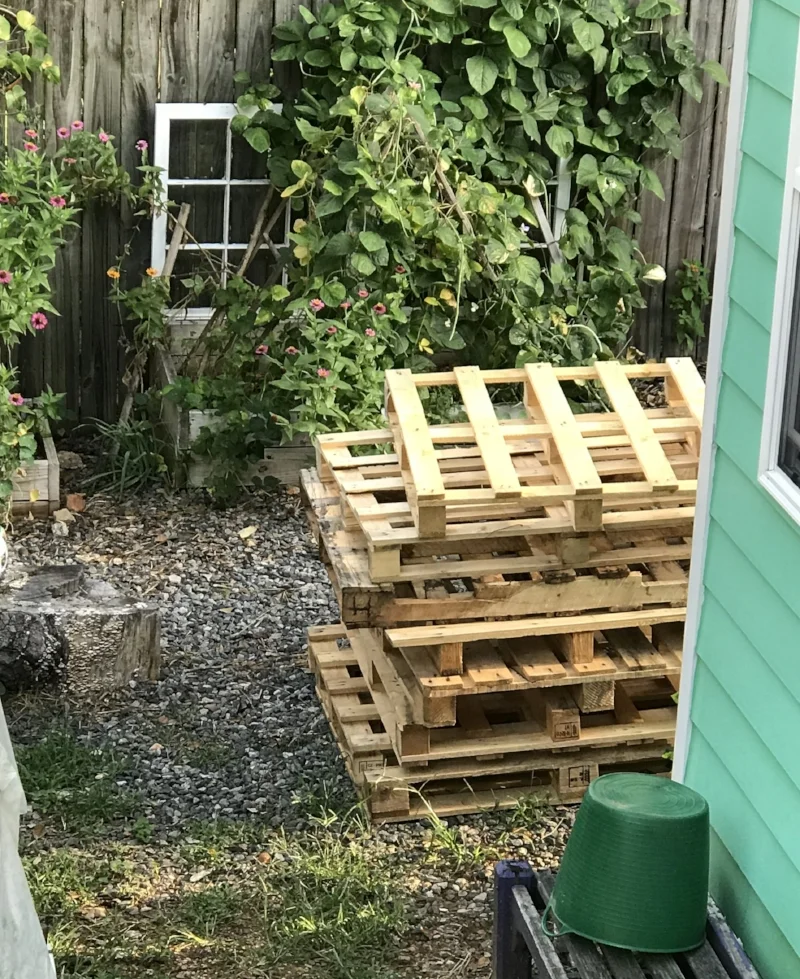
Wooden pallets seem to be the current trendy craft material. But before people were making planters or murals from them, wood pallets were great garden building materials. If you can collect three to nine pallets, and make sure they are the right type, you can build an easy and long-lasting compost system.
We built our original compost bin from used wood pallets. That bin rotted within a few years, and we learned a lot about how to make improvements. Here is our guide to how to build a sturdy compost bin from wood pallets, using simple hand tools.
Collect the Right Kind of Wood Pallet
First of all, look for new wood pallets. Although they’re likely to be used (from a business or construction site), some pallets have only been used once or twice, while others are on their last legs. Look for these features:
Is it a lighter color? Lighter color woods are newer, while darker pallets have aged and will rot sooner.
Is it intact and sturdy? Pallets wear out quickly when they’re used for storing and moving loads. Select pallets without broken or missing slats.
How was it treated? Look for an “HT” stamp, meaning the pallet was heat treated to preserve it, rather than chemically treated.

2. Decide How Many Pallets You Will Need
Three pallets will make a simple, one-unit compost bin. For years that’s all we had, and we just turned it frequently and sifted out the fresher, chunkier material as we used it for soil.
If you can get six pallets, you can build two bins. You’ll have an active bin, and a cooking bin. You can be adding material to the active bin, while turning and aging the the cooking bin. This is a great compromise for urban gardens with little space - you can rotate your compost operation without taking up too much room.
Nine pallets will create the Cadillac of compost systems - the three bin setup. One bin that’s active, one cooking, and one with fully finished compost ready to add to the garden.
Wood pallets come in different sizes, so measure them as you are collecting them. It helps if they are close in size. If you have different sizes, try using use one size for the compost bin back, and another for the sides.
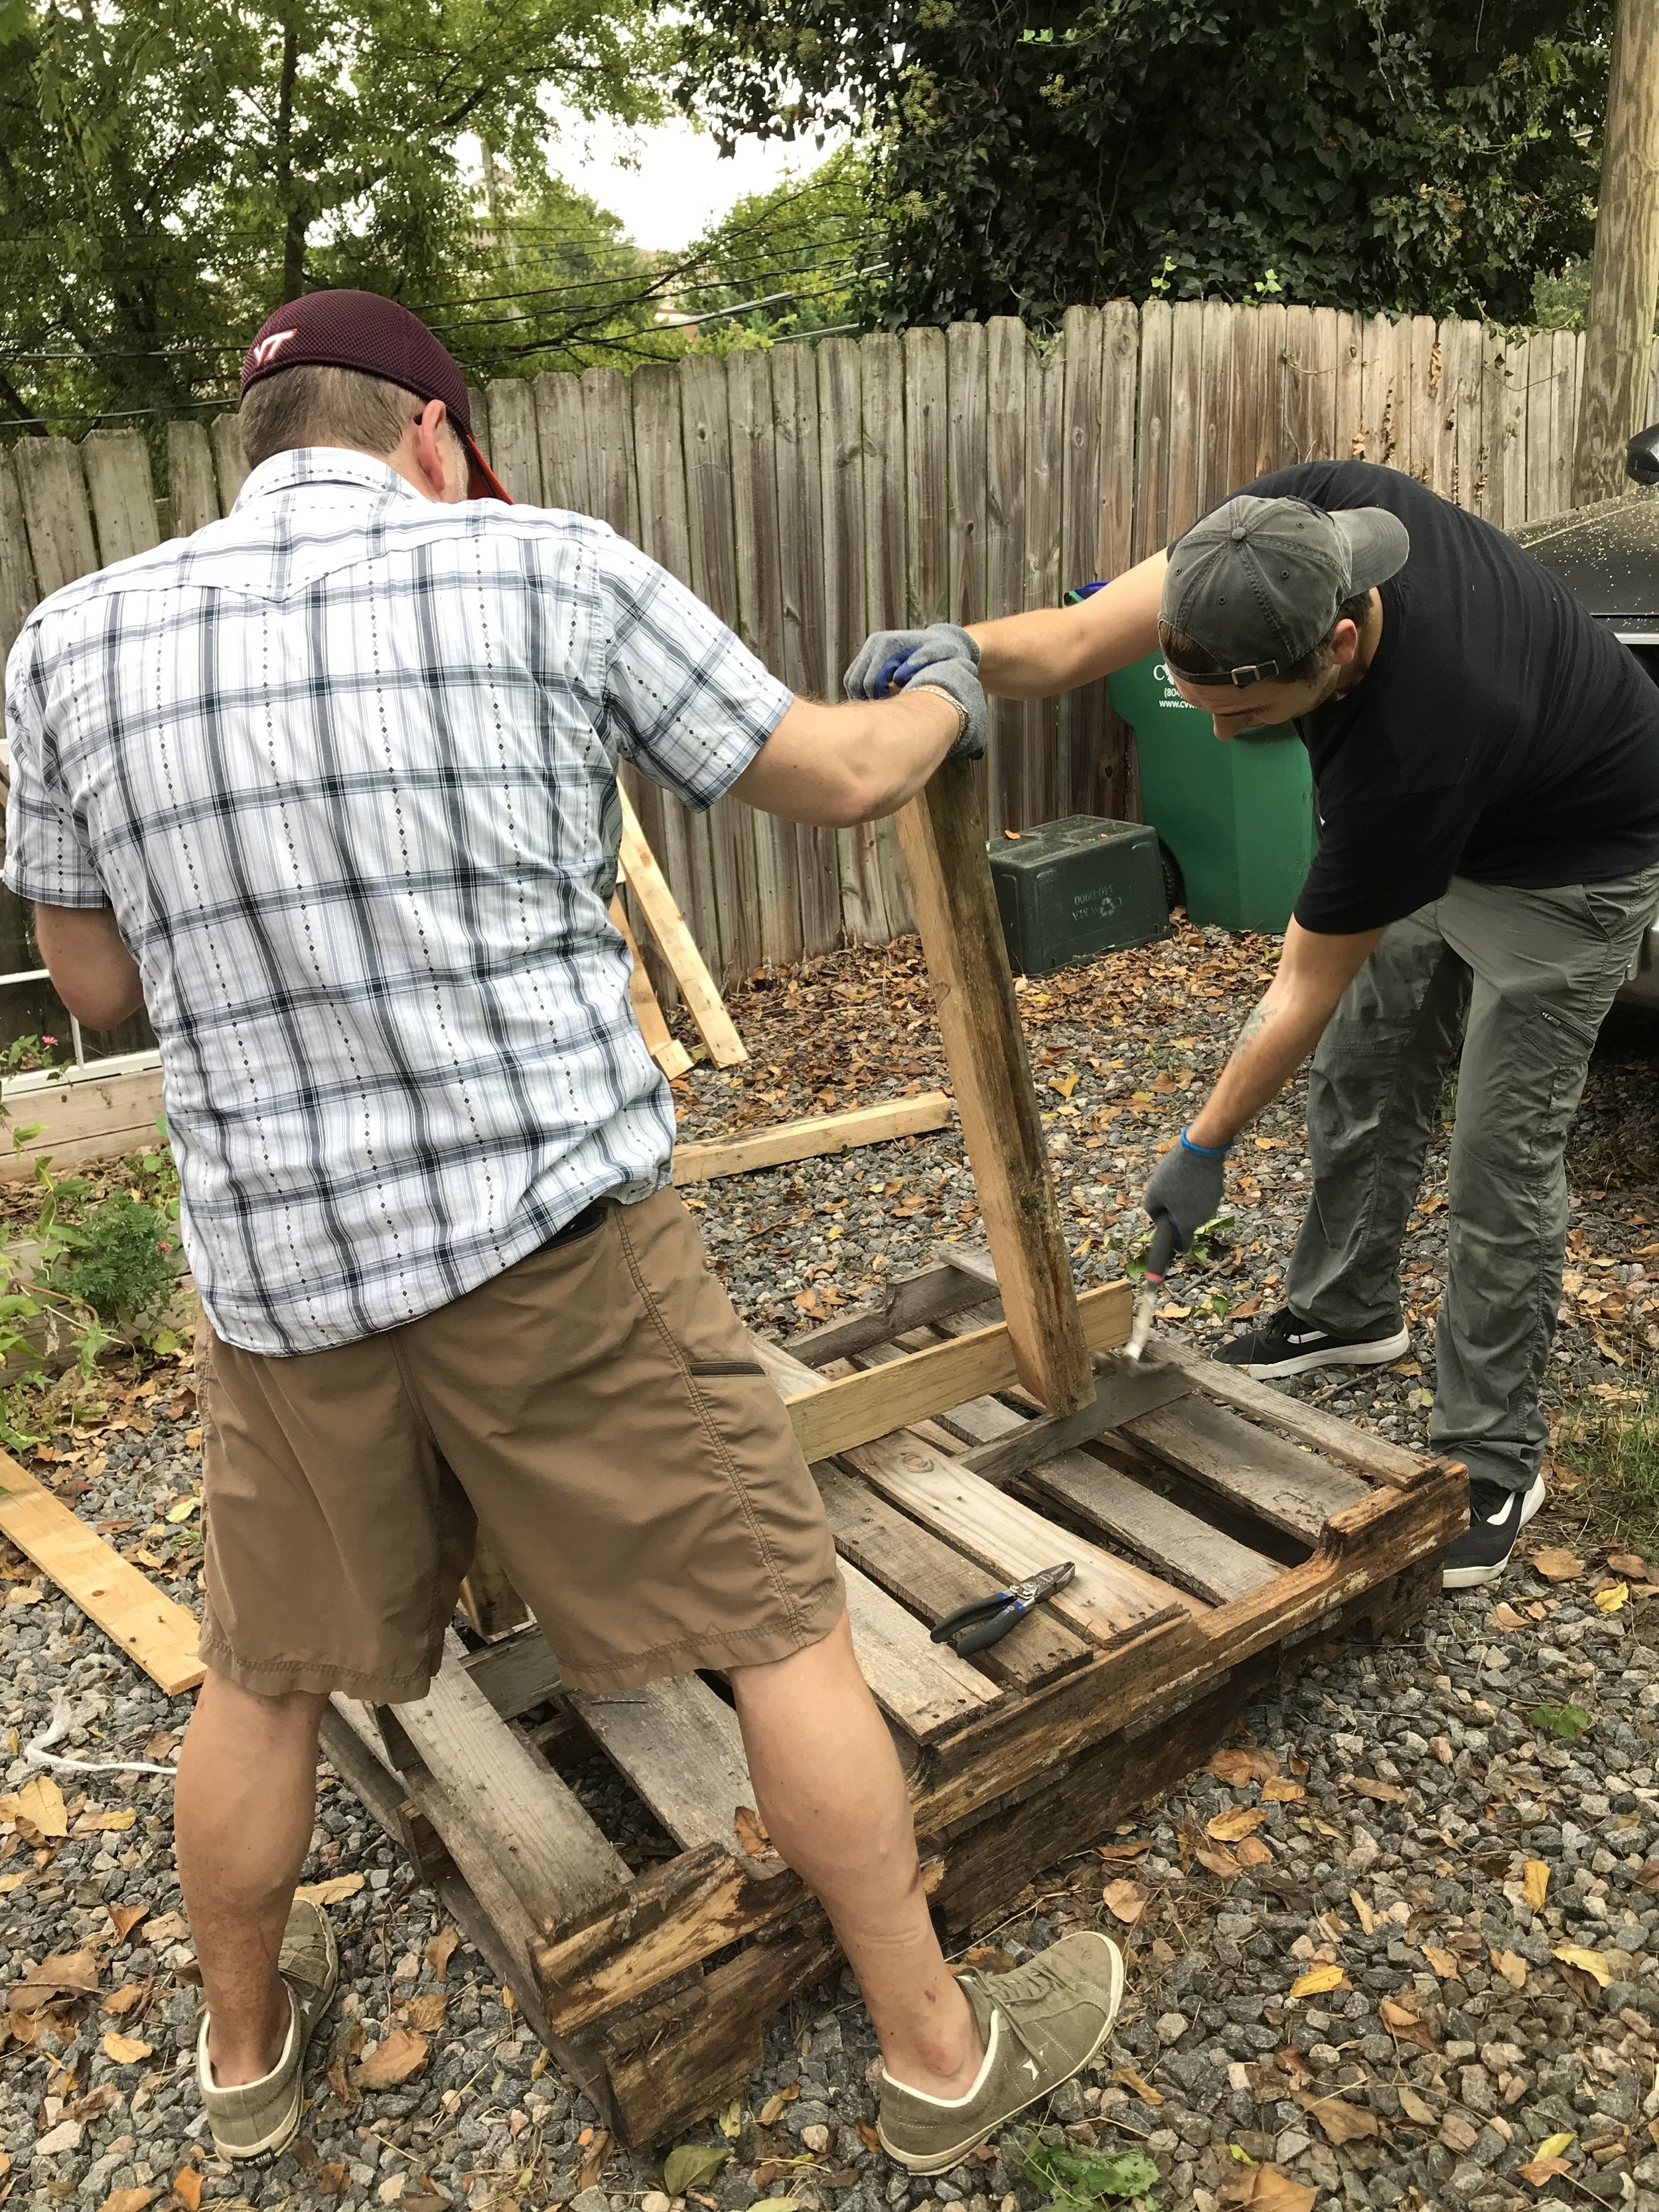
3. Break Down One Pallet
It’s tempting to just line up the pallets, put some nails in them and call it a day. But we learned from our first bin that the sturdier the structure is, the longer it will last. To get some smaller wood pieces for attaching the corners, we broke down one of the pallets by prying it apart with an ordinary hammer.
We cut two slats into 8” pieces, to use as corner braces. The other slats we kept long to use for front braces. If you don’t want to tear apart a pallet, you can use pieces of pressure-treated lumber.
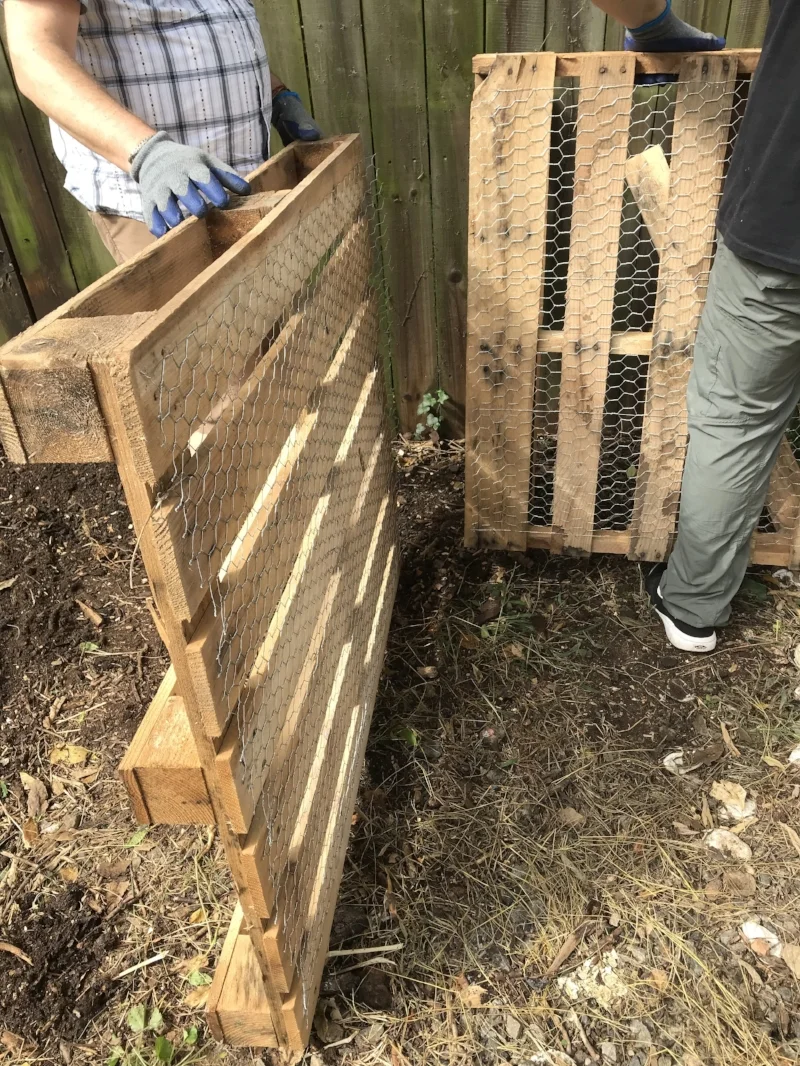
4. Line with Chicken Wire to Keep the Compost Tidy
From our first wood pallet compost bin, we learned that the bins will last longer (and be tidier) if they are lined with wire. We bought a roll of chicken wire and attached it to the pallets before assembly, using wire cutters and a staple gun. Be sure to put the chicken wire on the inside of each pallet - where the smaller slats are closer together. That’s the side to put closest to the compost, and the wire plus slats will keep it away from the rest of the wood structure.
Once you’ve covered the pallets with chicken wire, move them into place to make sure they’ll fit. You may need to turn some of them so the finished bins will be uniform in size. For example, I like the slats on the pallets to be running horizontally - I think it helps keep the compost in the bins. But one of our pallets was an odd size, so to make it fit the others we had to rotate it so that the slats run vertically. You can see in the image below.
5. Assembling the Compost Bins
Now it’s time to put the bins together! Screws make for a stronger bond than nails, so we used 2” deck screws at the joints. Then we cut some of the boards we removed, and made corner braces with 8” lengths of slat.
We put the small pieces of wood slat on the top of each corner and attached it to each pallet with two screws. You can see in the final image below.
Finally, take one longer slat and use it to brace the bottom front of the bin. Screw it into the thick post on each side (see picture below).
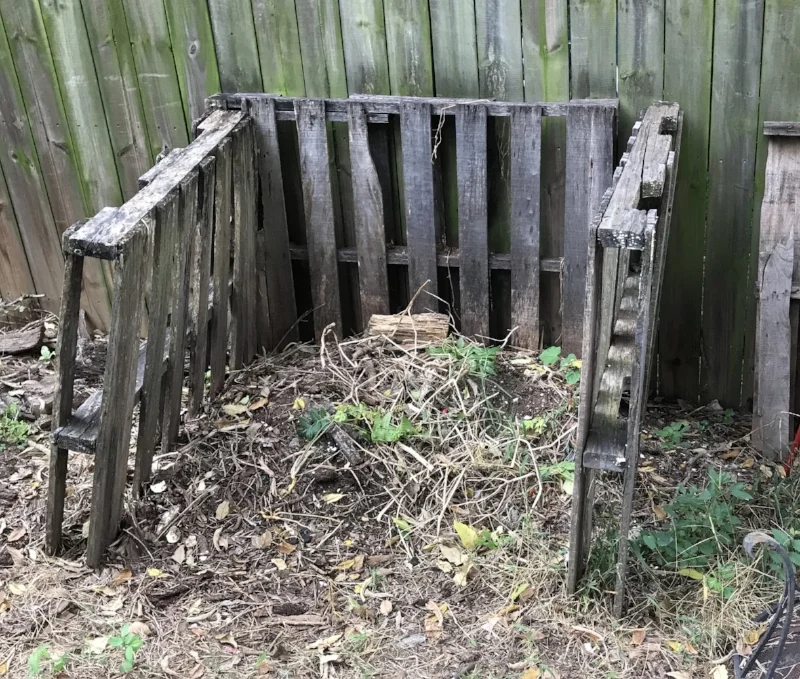
Before….
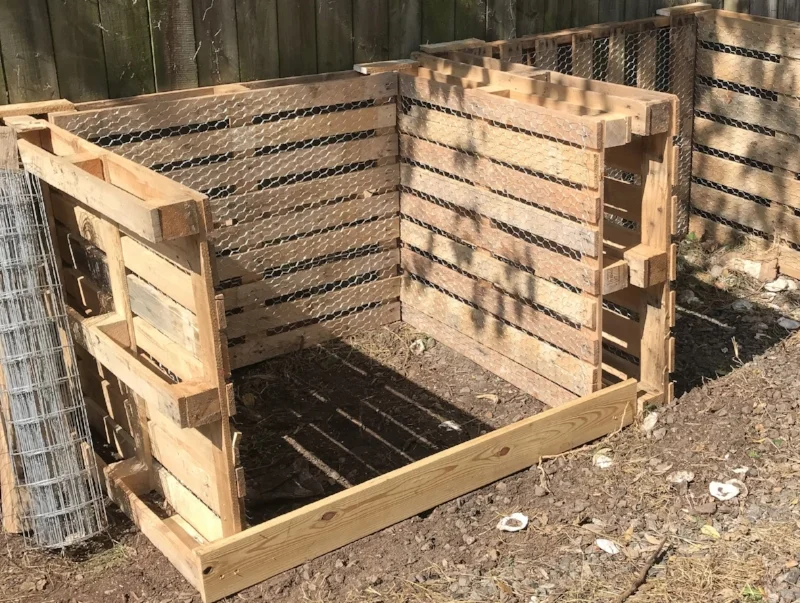
After!